After priming the pieces black, I drybrush grey over it. I used VMC Dark Blue Grey, but the likes of GW Codex Grey work fine. I use grey just because my marines are Urban-themed and the board Alex and I play on is also Urban (and he's building a new, sturdier, one. Here's his first post if you missed it).
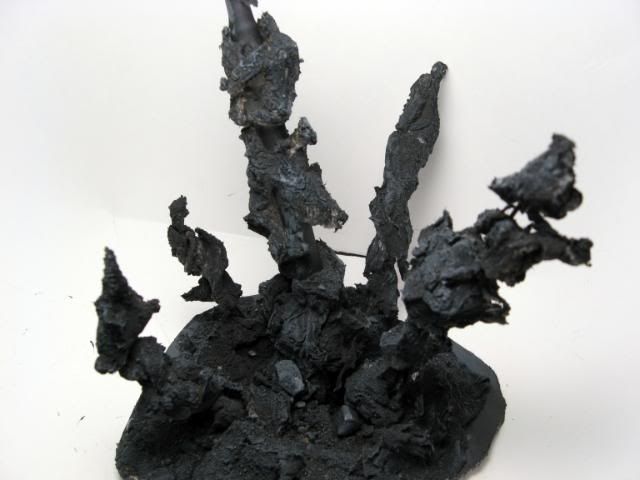

Next I drybrush a coat of VMC Flat Earth (GW Graveyard Earth works great here too). From here I'm going to just going to be putting down muddy colors that would be under the ashy urban surface mimicking what would happen if a shell fell down and thrust the ground underneath upward.
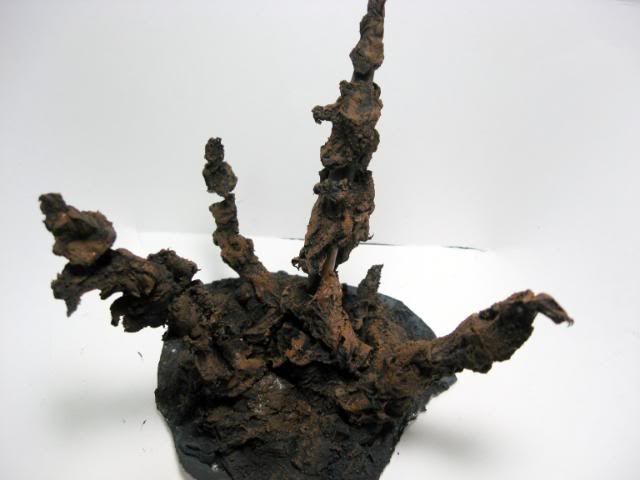

After that I drybrush on some GW Bestial Brown...
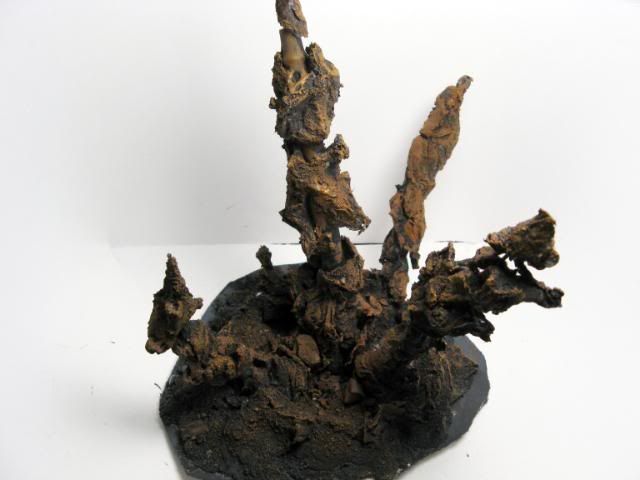
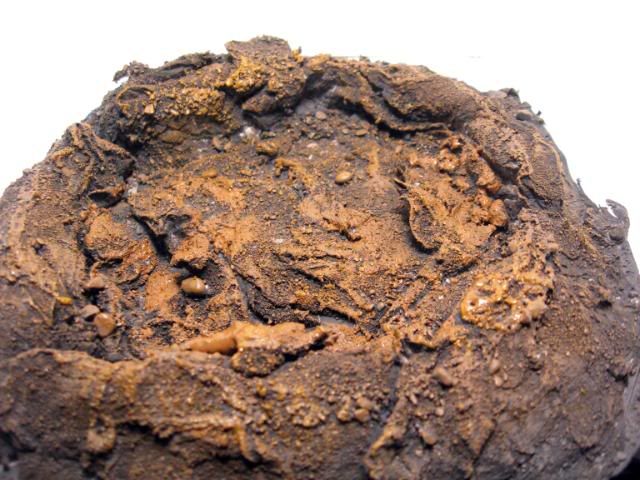
Then a light coat of GW Desert Yellow for a primary highlight.

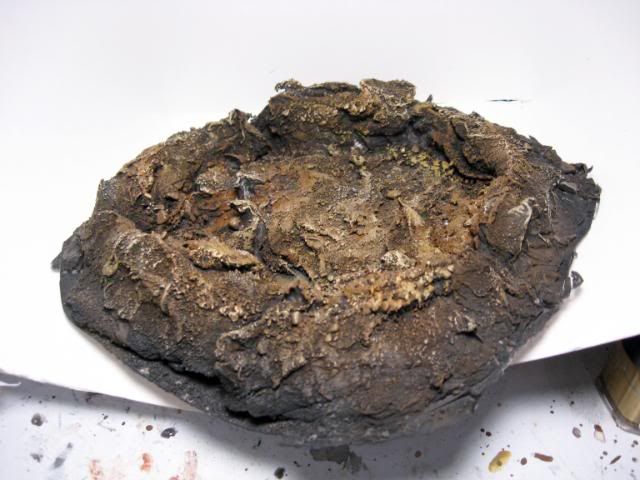
Finally I put a very light drybrush of GW Bleached Bone on the crater just to make the piece "pop" a bit more.

And a size comparison with a Space Hulk Terminator:
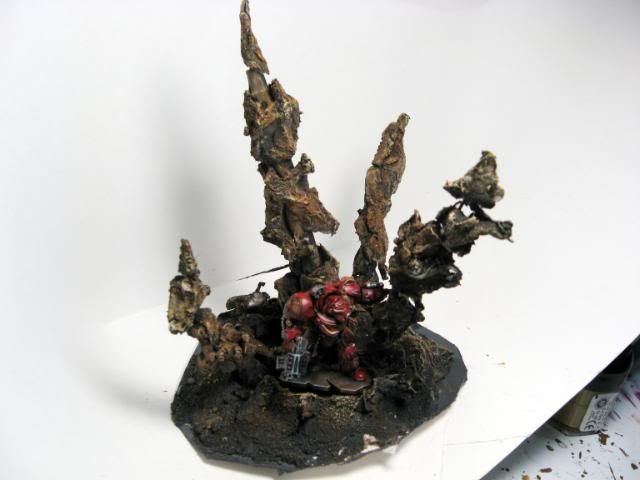
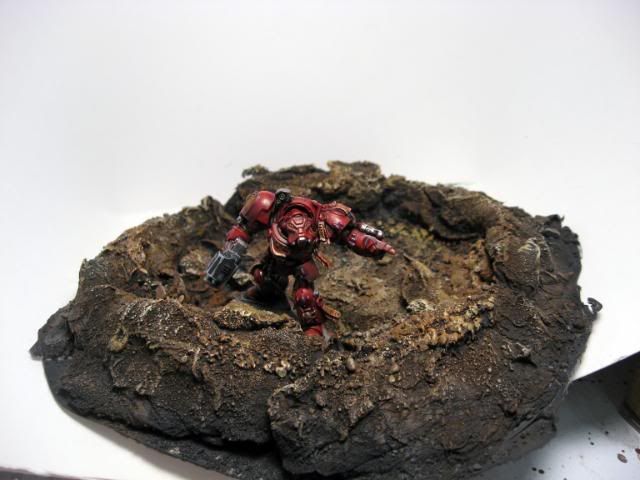
So that's it. If you want to make a more smoky explosion, you can just use Steel Wool and paint a bit of fire on the bottom. I'll probably pick some up and do a tutorial when there is a bit of lull in my schoolwork.


2 comments:
Cracking mate, I've been meaning to do explosions for a while. I think I'm going to give it a go following your instructions.
Cheers mate.
flipping tasty looking scenery. I cannot wait to walk 50 infantry through it. :D
Post a Comment